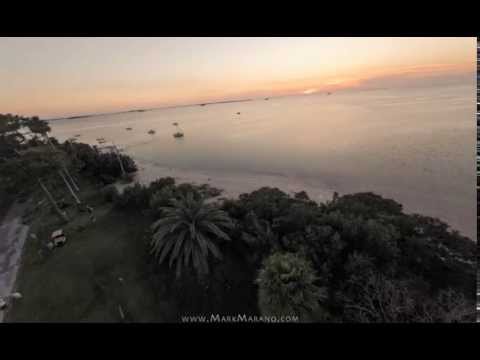
this version is higher resolution and playing at half the speed as the one i posted to instagram last night.. that one can be seen here: www.instagram.com/p/B-yIz8Rpdue/
#time-lapse


(some of these weren’t flown to be used in a video, but i’ve included them anyway) locations include: Anderson Park Aripeka Sandhills Preserve Bayside Bridge Belleview Biltmore Golf Club Brooker Creek Preserve Clearwater Beach Clearwater Memorial Causeway Courtney Campbell Causeway Bridge Crystal Beach Dunedin Causeway Florida State Fairgrounds Joe DiMaggio Sports Complex John Chestnut Senior Park Lake Maggiore Lake Tarpon Canal Marsh Pointe Mobbly Beach Park Philippe Park Pine Island Beach Park Pop Stansell Park R.E. Olds Park Sand Key […]
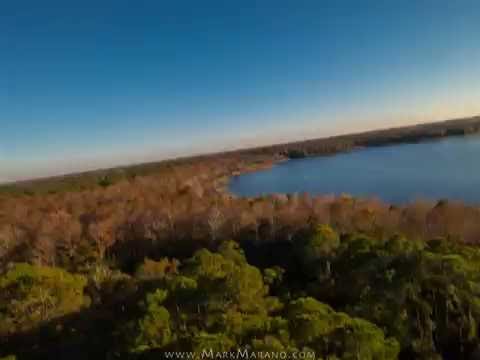
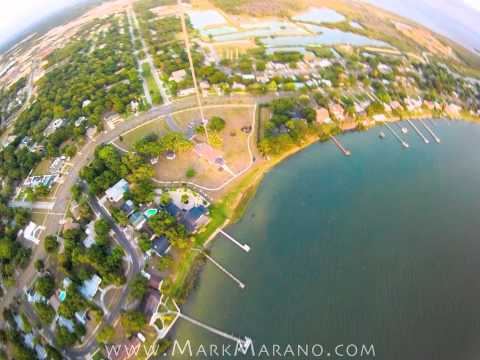
Florida • Bayport
Florida • Belleair
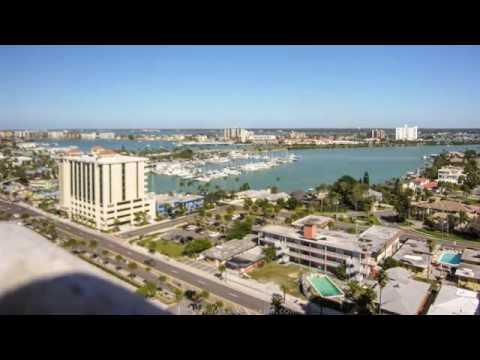
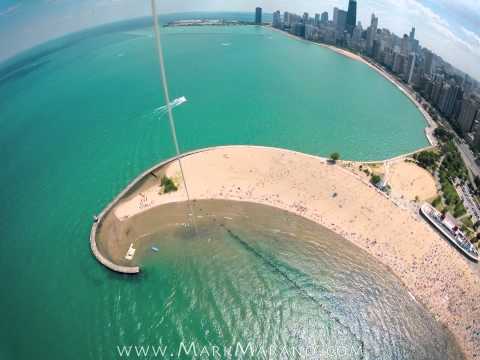
Florida • Clearwater
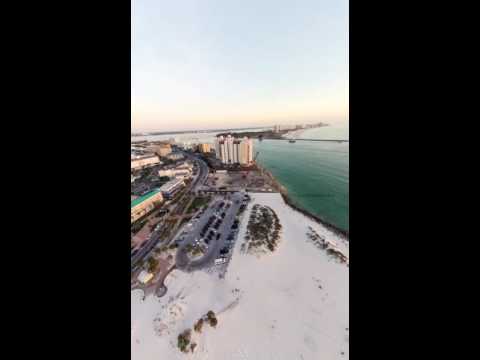
Florida • Clearwater Beach
Florida • Dunedin
Florida • Hudson
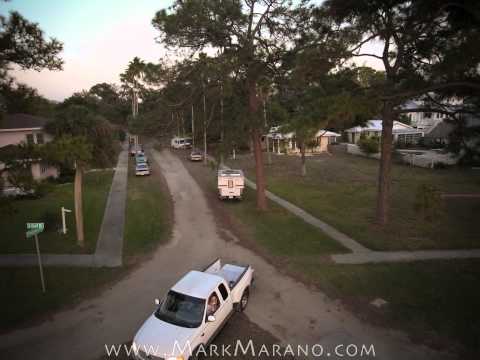
Florida • New Port Richey
Florida • Oldsmar
Florida • Palm Harbor
Florida • Safety Harbor
Florida • Saint Petersburg
Florida • St. Petersburg
Florida • St. Petersburg Beach
Florida • Tampa
Florida • Tarpon Springs
Florida • Belleair
Florida • Clearwater
Florida • Clearwater Beach
Florida • Dunedin
Florida • Hudson
Florida • New Port Richey
Florida • Oldsmar
Florida • Palm Harbor
Florida • Safety Harbor
Florida • Saint Petersburg
Florida • St. Petersburg
Florida • St. Petersburg Beach
Florida • Tampa
Florida • Tarpon Springs
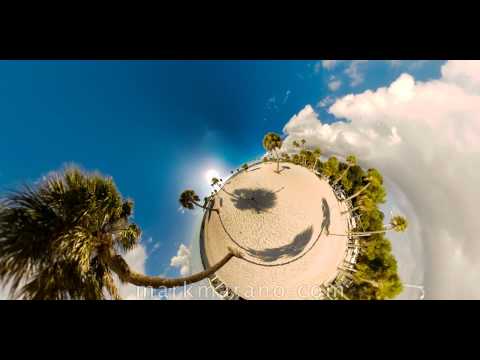
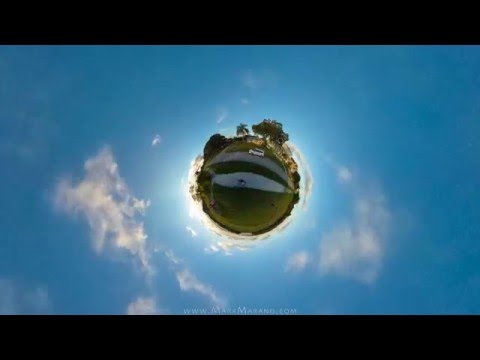
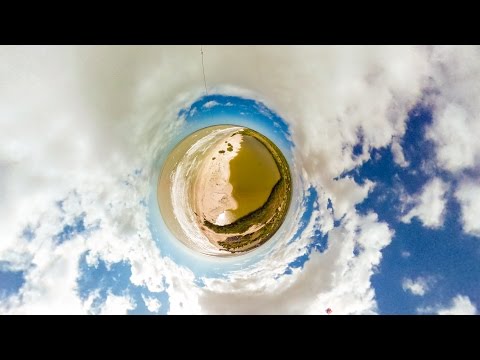
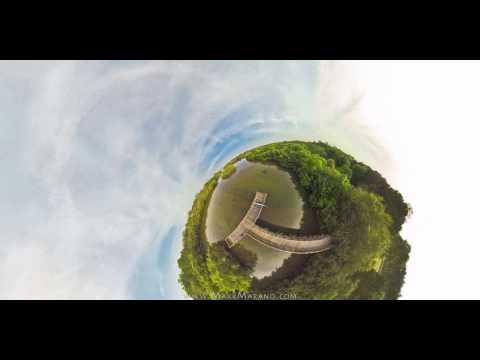
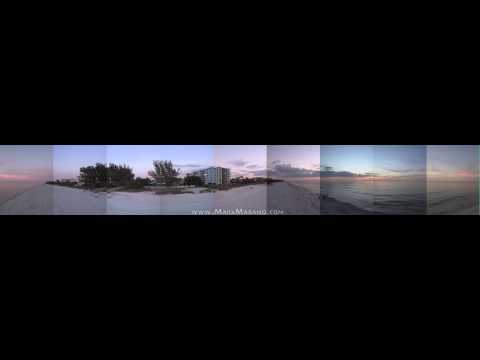
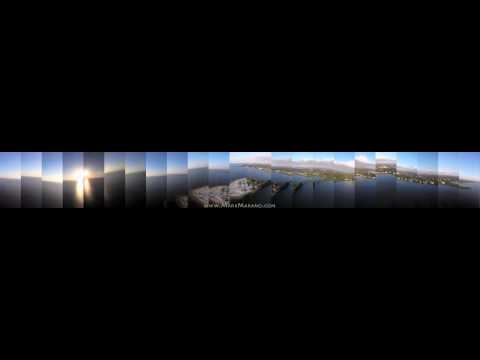
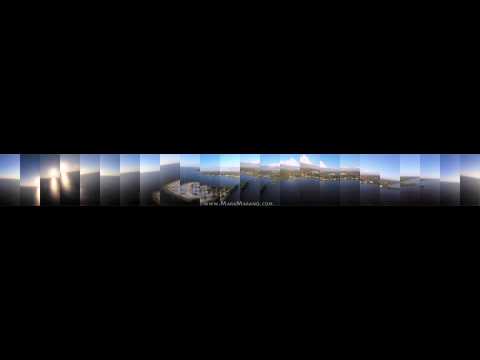
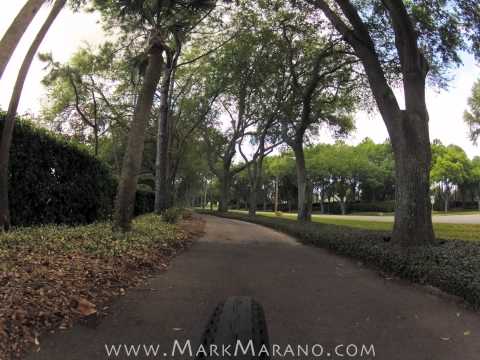
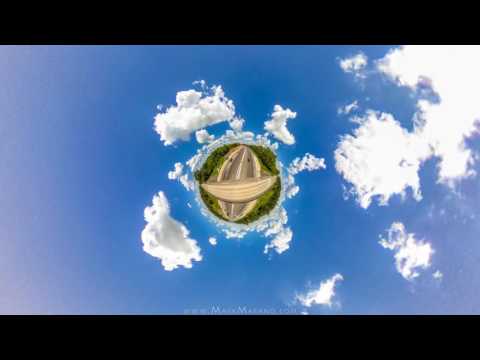
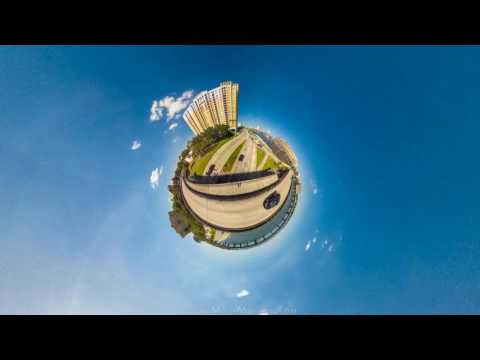
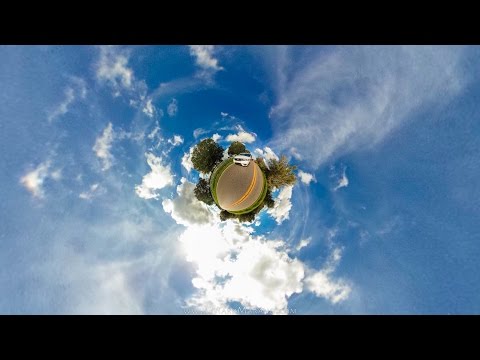
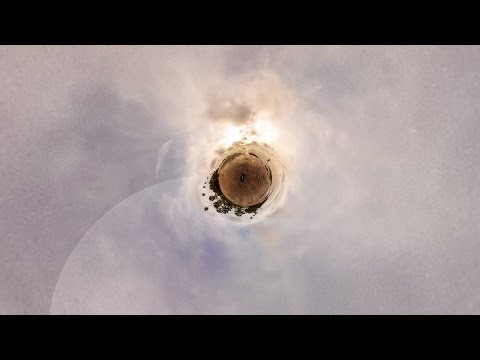
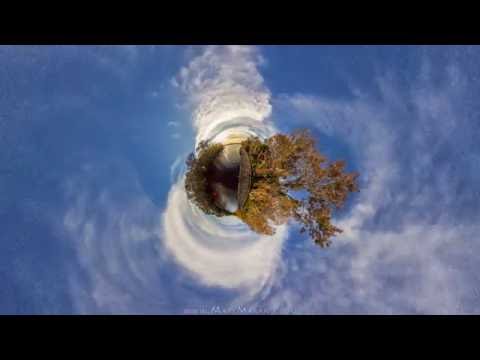
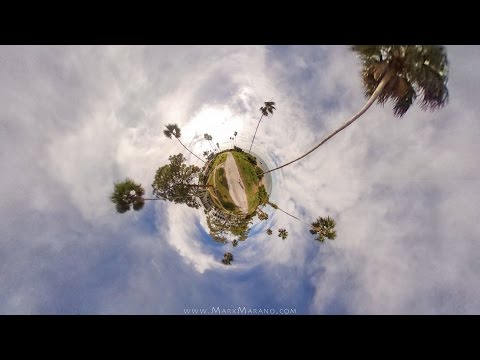
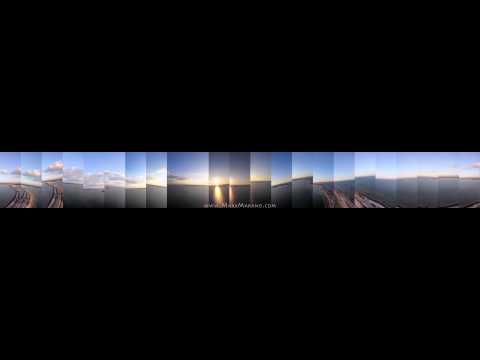
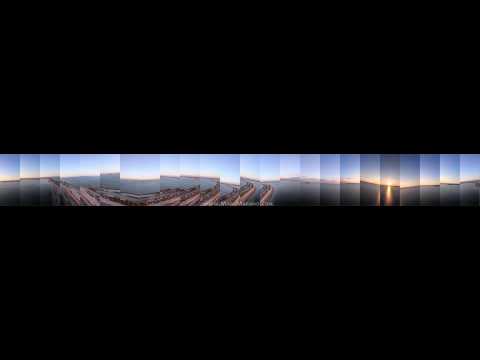
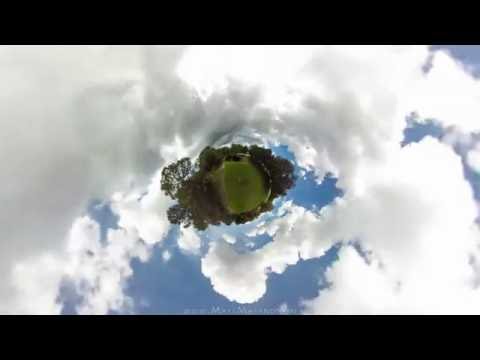
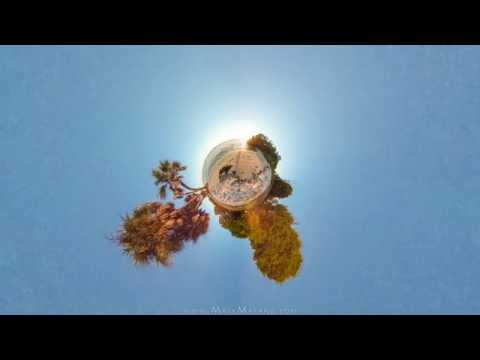
i put this playlist together yesterday [2015.05.18] though will likely update it as i create more. the individual time-lapse videos are in chronological order by the date shot, starting with the first ones i made back in early 2009 [shortly after i first discovered the little planet look, figured out how to do the whole technique, and then naturally thought it’d be awesome to do a time-lapse video with this technique as no one had done so yet]
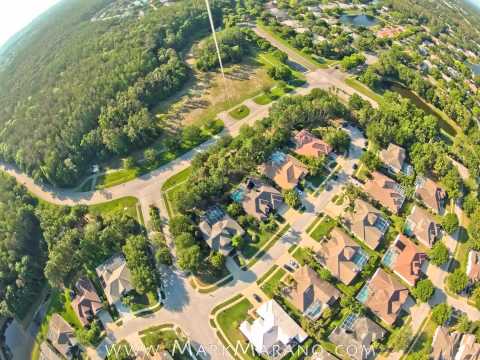
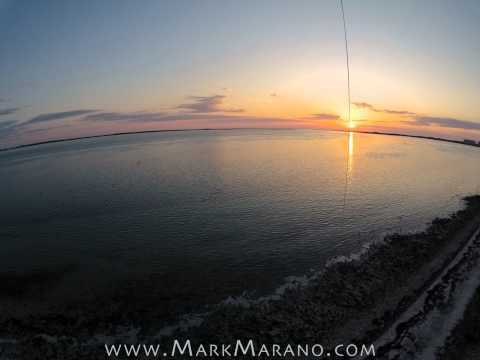
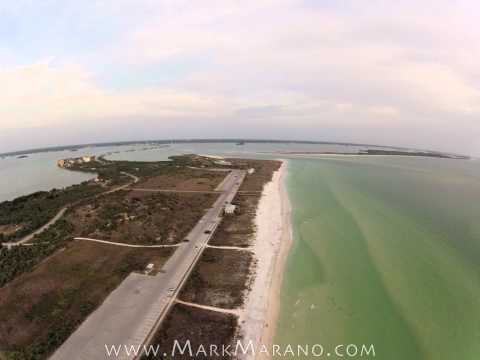
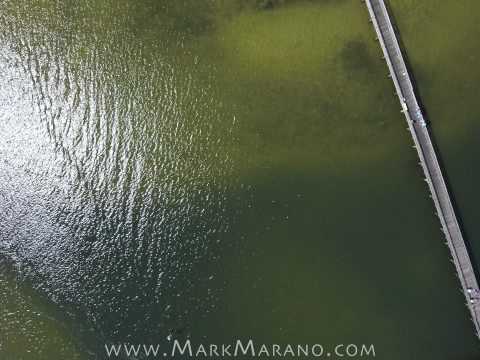
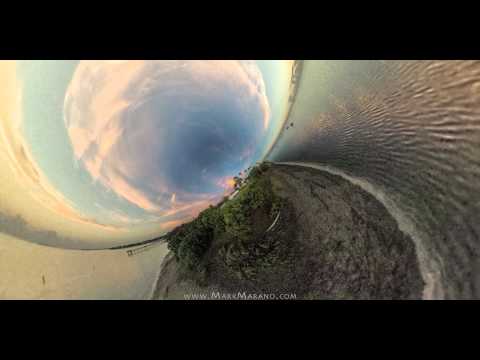
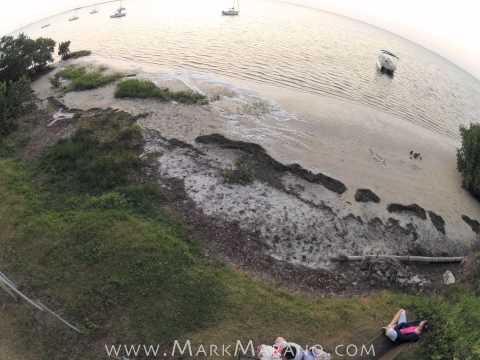
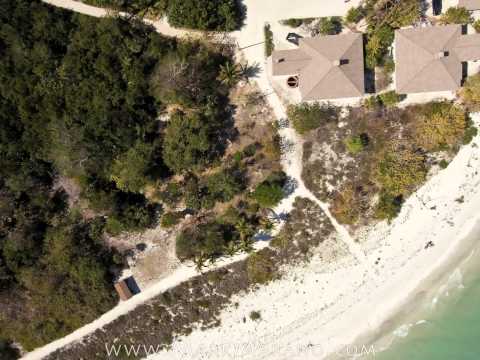
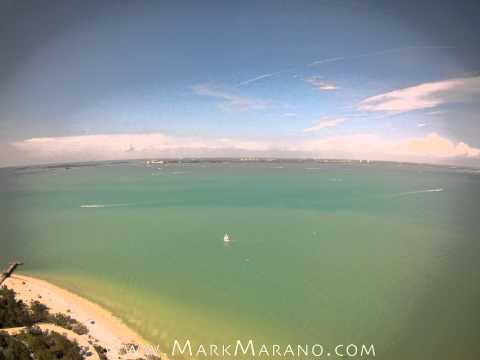
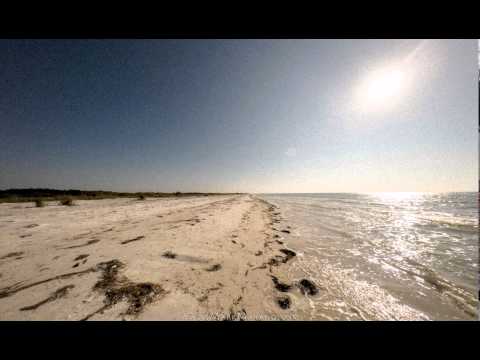
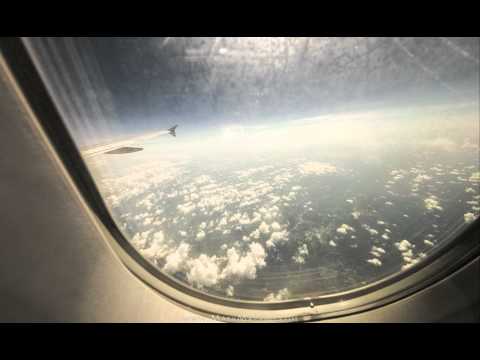
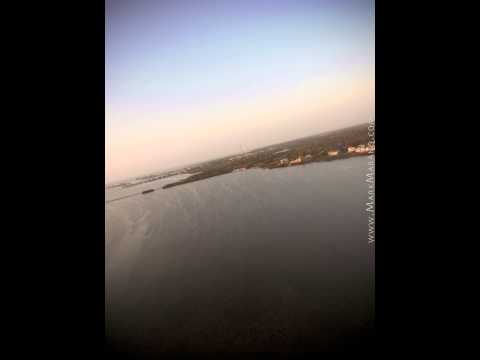
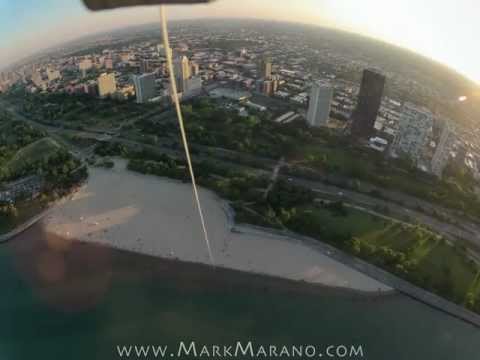
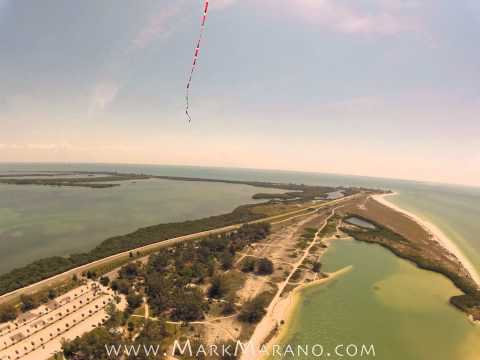
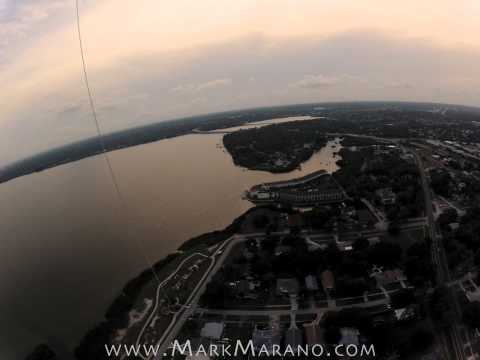
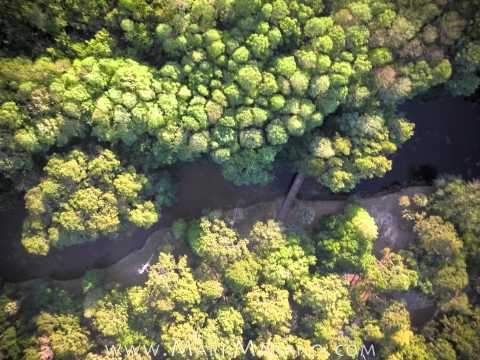
this technique has gotten tremendously easier since i got a ricoh theta camera last year. it no longer takes many days just to stitch and process the images, nor the need to carry many pounds of heavy equipment that has to be precisely aligned [which also required a large, heavy case to be carried in and a heavy duty tripod to be mounted on]. now, a small camera that fits in my pocket, my iPhone, and something to mount the camera on [which can also fit in my pocket] is all that’s needed, and the most difficult part of the image processing is done automatically! the only downfall is that the image quality is a bit less than using my custom rig, though it still yields good results and allows for shots that could not have been done with the other gear, such as the aerial shot where the camera was hanging from the kite line as i walked for miles on the beach [or a driving shot that i have yet to process, which reminds me there are also a few other 360×180 little planet time-lapses i’ve shot that i have not yet created as of the time i’m writing this].
due to the way the youtube embed works with playlists that have different aspect ratio videos, some clips may be cropped a little bit. use this link to see the entire playlist directly on youtube: [old external link not shown]
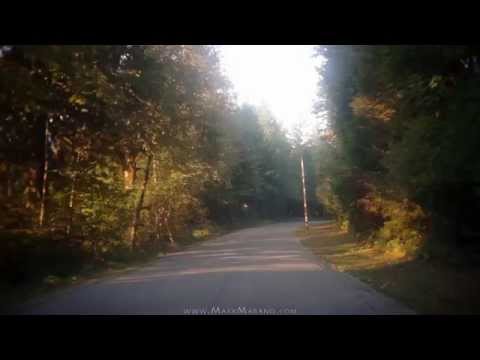


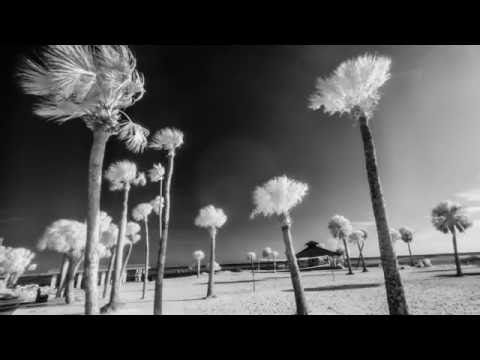


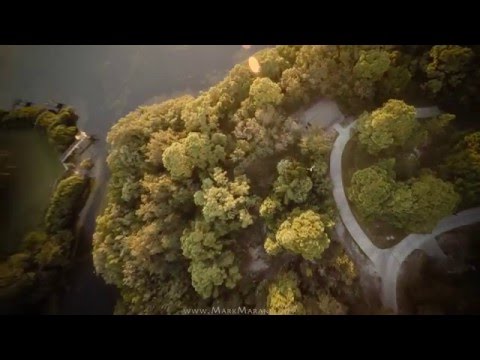


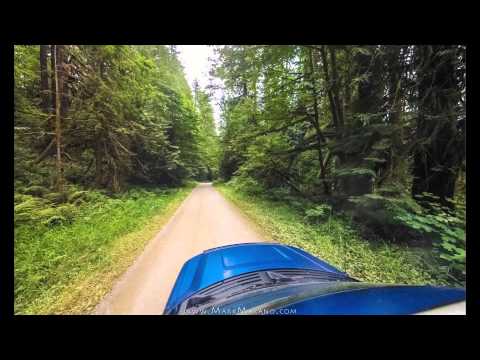
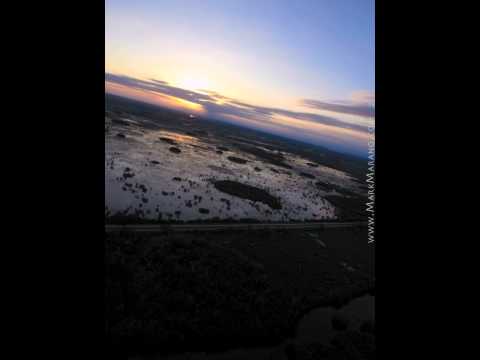
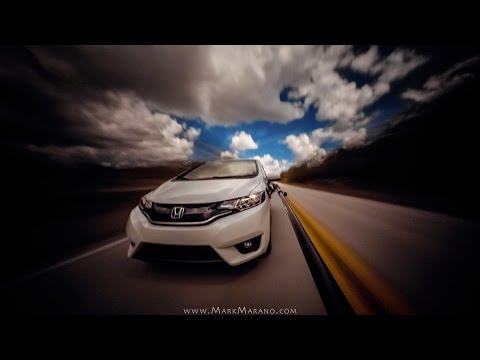
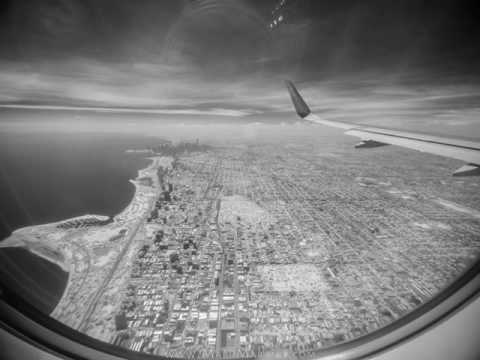
[2020.04.01] first take at infrared driving timelapse w/raspberry pi noir camera v2 & lee 87c filter

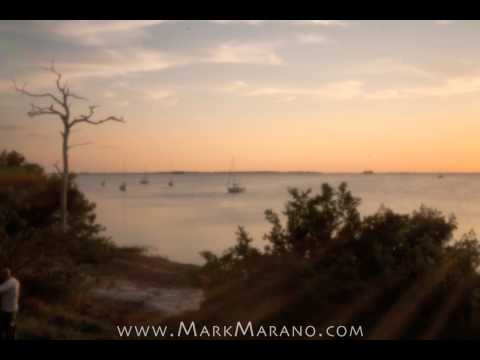
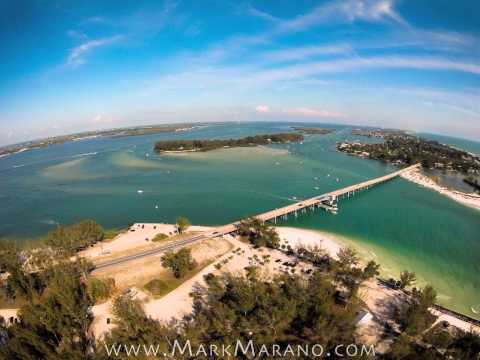
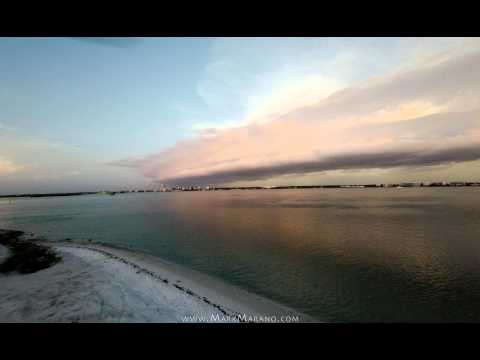
it was a very nice, relaxing drive, especially once i got to the beach, which had little traffic. the cooler temperature, mostly empty beach islands, and peaceful feeling in the air were quite beautiful and serene. the drive through the beach islands felt like i was in another part of florida (or the country) with quiet, remote, empty beach towns. there was also less pollution which was very nice to be able to breathe in the fresh air more easily (when i wasn’t by gas or diesel vehicles).. when going over the bayside bridge, i looked out the left window, and the tampa skyline (15 miles away) appeared more clear & crisp than i had ever seen it before.
also, knowing that the camera was running automatically let me relax and just focus on the present moment, rather than needing to also concentrate on photographing what i saw during the drive (and i wasn’t able to connect back to it via wifi for some reason a little bit into the drive, so just forgot about double checking that it was still running and the images were looking good). i recall a similar thought or feeling over a decade ago, when i set up long term time-lapses / webcams to photograph the nice view from a high rise apartment i lived in for a year. it was nice to know that the photography was happening automatically and i could spend my time and energy just being present. some automation is nice so one can relax into the presence and be more in the awe & beauty of the moment, fully embracing the experience. i recall this dilemma even further back, 15+ years ago, when i was feeling that one could either live in the present moment or photograph/document the experience, but couldn’t really do both. anyhow, i look forward to when all vehicles are electric so there will be no pollution in the air and one can fully enjoy the fresh, natural air when driving with the windows open. it’s nice that we can now have a glimpse of what our future will look like with less pollution. i hope this time inspires many more people to realize what changes we need to make to improve our experience here on earth. i also look forward to when autonomous full self driving technology is complete and legal to use, so one can have a deeper sense of relaxation and more fully embrace the beauty of the surrounding landscape when going for a ride, without the need to concentrate at all on operating the vehicle.
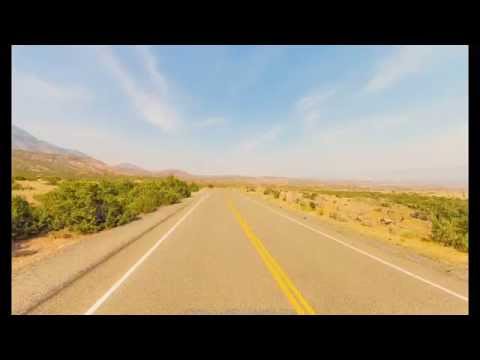
all still images were shot at iso 60, 1/128 shutter speed, and a custom white balance, at an interval of one shot every 3 seconds, and the video is rendered at 10 fps. it looks like the very thin filter i used is quite reflective and/or perhaps slightly bent.. i’ll need to work on a solution for the strange glare its producing when the sunlight is on it for better results. seeing this issue, i rather quickly adjusted a couple images in lightroom and copy/pasted all the same basic settings to every image, and then gave the beginning images (when driving south) slightly different settings to compensate a bit for the glare that showed up in most frames in that direction. it’s by no means perfect, as the light shifted depending on which direction i was going and when i drove in & out of the shade (and as the sun started to dip toward the horizon later in the drive), though i didn’t want to go through all 4552 frames to tweak them (as originally i was going to post this on instagram which has very high compression and it would’ve been sped up to a minute to be able to post it there).. it looks like youtube’s re-compression lost a bit of the contrast and detail too, as it looks noticeably worse (softer, with muddy contrast) playing it back on youtube compared to the original file (picking the 4k setting on youtube helps, but still loses some of the fine detail of the original). anyhow, enough of the technical details.. i shot another the day after this one that i’ll be uploading next.
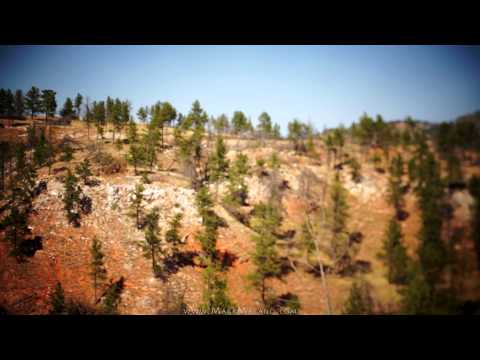
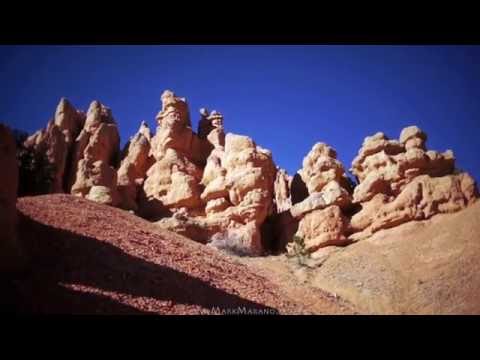
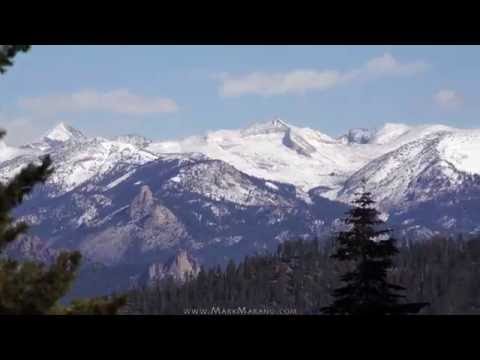
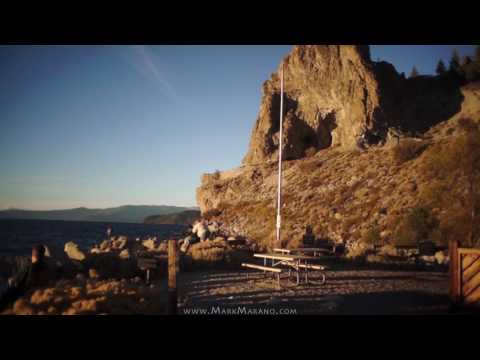
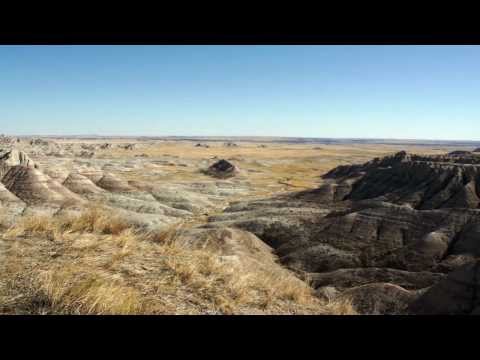
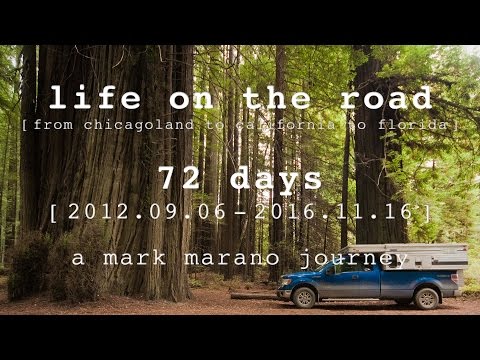
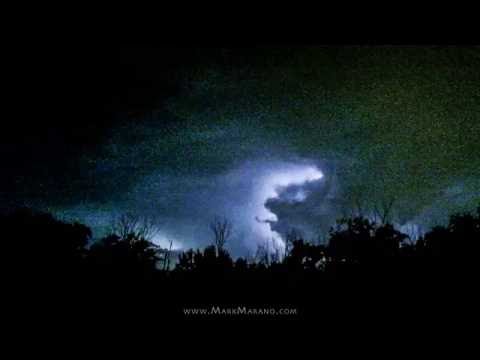
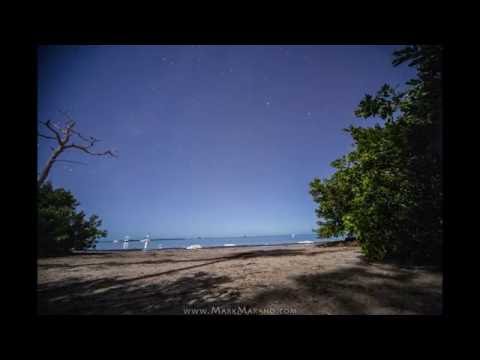
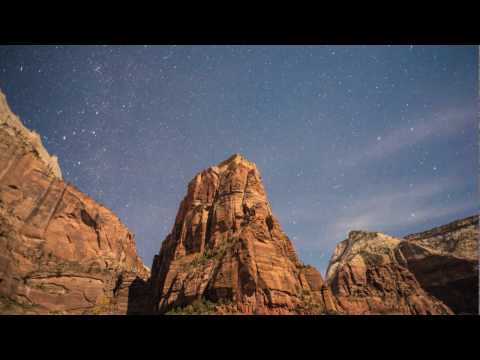
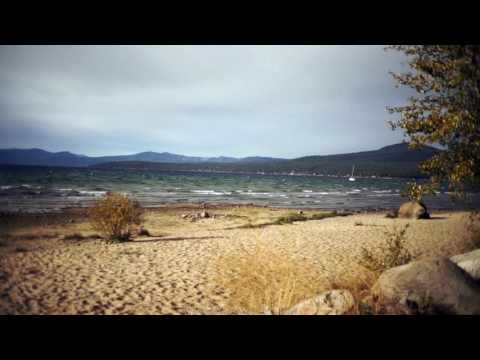
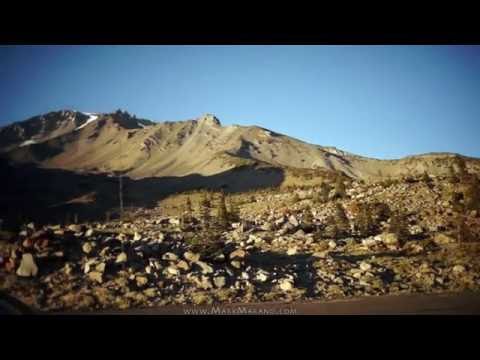
these are all the star-lapses i shot on the journey i took from chicagoland to california and then to florida, between september and november of 2012
South Dakota • Badlands National Park
Oregon • Crater Lake National Park
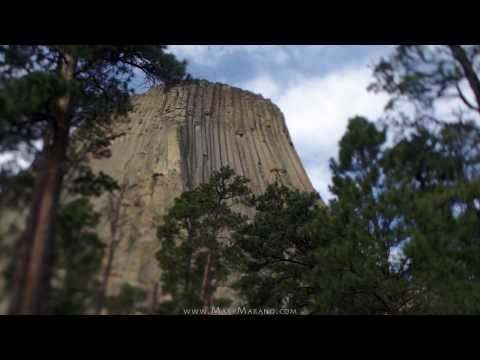
Wyoming • Devils Tower National Monument
Arizona • Grand Canyon National Park
California • Kings Canyon National Park
Nevada • Lake Tahoe
California • Mount Shasta
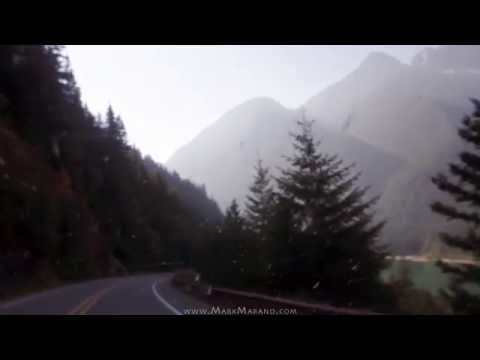
Washington • Mt. Baker National Forest
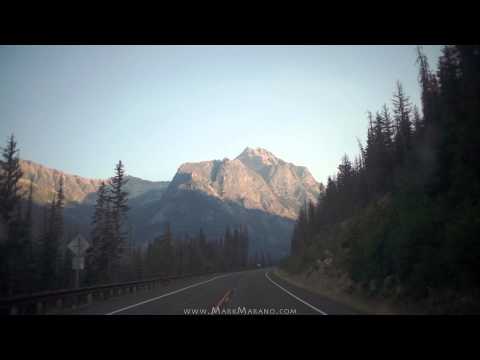
Washington • Ross Lake National Recreation Area
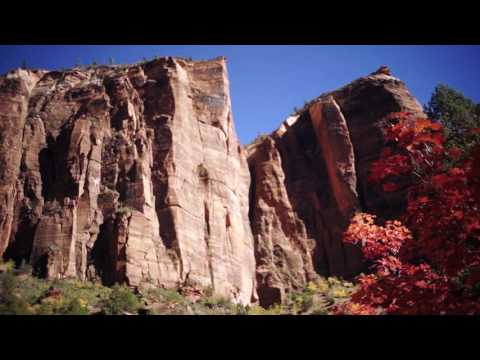
Utah • Zion National Park
Oregon • Crater Lake National Park
Wyoming • Devils Tower National Monument
Arizona • Grand Canyon National Park
California • Kings Canyon National Park
Nevada • Lake Tahoe
California • Mount Shasta
Washington • Mt. Baker National Forest
Washington • Ross Lake National Recreation Area
Utah • Zion National Park
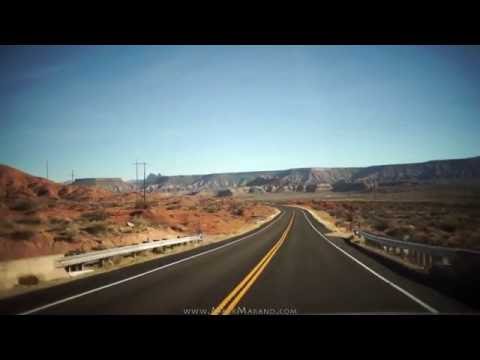

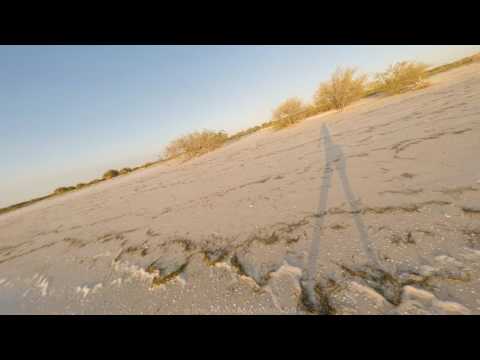

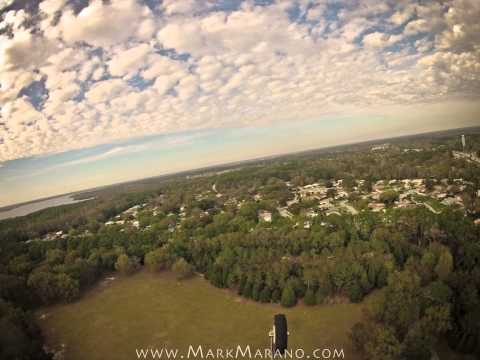
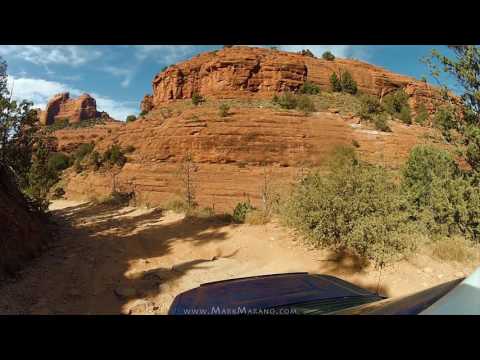
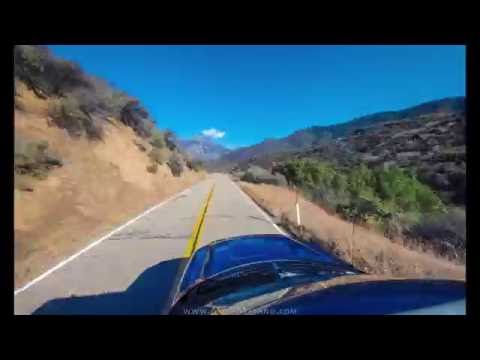
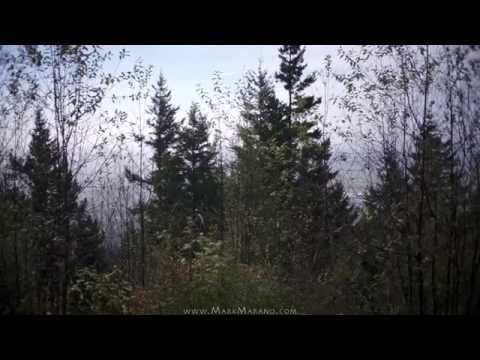
[2014.12] experimental time-lapses with raspberry pi infrared noir camera [walking, flying, driving]